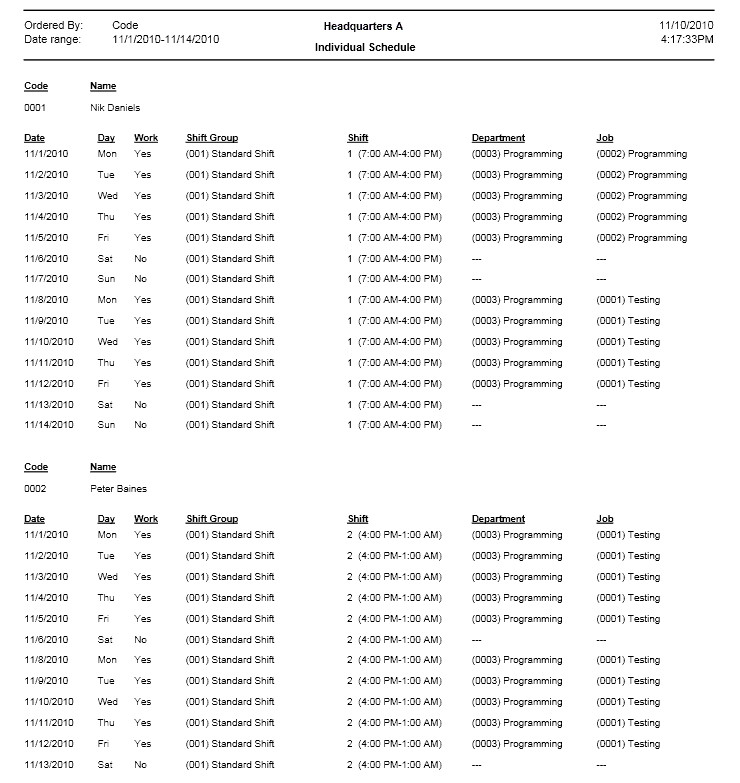
Individual Schedule Report
Individual Schedule report gives you information about employees’ schedules during the specified date range.
Report Sample Images:
Report Configuration
After choosing Individual Schedule report from the list of all available reports, in the middle part of the Reports Wizard screen appear some options for report configuration. Here you select any option you would like to apply to the report.
- In the Group By group box you have options to group schedules in the report either by employees, or by dates. Also, you can put a check mark in the Each group from new page box to see each employee or each date from a new page.
- After the custom configuration on the first step is done, click on Next button and navigate to the second step where you can select Employees who should appear in the report. Before selecting employees, you can filter them by Status, Working Time and Employment Type. Also you can filter employees by headquarters, divisions, groups, departments and jobs, to which they are assigned.
- On the next step use Select Time Period fields to select the date range for which you want to generate the report. From the drop-down list select any of predefined options, like Today, Yesterday, This Week, etc., or select Custom option and enter a custom date range into Start and End date fields.
- Then use Order By fields to select how to order employees in the report. You can order employees either by code or name, and either ascending or descending.
- As the last option in this step you have the E-mail Report check box, which you should select if you want the report to be sent to any e-mail address right from the software. In that case you should also select those e-mail recipients who you want the report to be sent to.
- On the next step use 5 Custom Fields to enter any custom information, which you want to be displayed at the end of the report.
- The below Add to Widgets button allows you to add the current report with the current configuration to the list of reports available in the Widgets.
- Once the necessary configuration is done, click on Generate button. As a result the report will appear on the screen.
Report Output
In the header of the report is displayed the following info: company name and logo, report name, date range, ordering criteria, date and time of generating report.
In the body of the report is displayed the schedule of employees either grouped by employees, or by dates. Each row represents schedule of one employee for one day.
The schedule includes the following information:
Code: Displays code of the employee.
Name: Displays name of the employee.
Date: Displays date of schedule.
Day: Displays day of week of schedule.
Work: Displays Yes or No. Yes means schedule of that day is working, No means schedule of that day is non-working.
Shift Group: Displays code and name of the shift group assigned to the schedule of mentioned date.
Shift: Displays code and name of the individual shift assigned to the schedule of mentioned date.
Department: Displays code and name of the department assigned to the schedule of mentioned date.
Job: Displays code and name of the job assigned to the schedule of mentioned date.
Report Printing and Exporting Options
- Click on the Export Report icon in the upper left corner of the screen to export this report to a separate file, which can be in any of the following formats: .pdf, .xls, .xlsx, .doc, .rtf, .csv, .xml, .rpt
- Click on the Print Report icon to print the report.
- Use left and right arrows next to exporting and printing icons for navigating to next and previous pages of the report.
